Logto is an Auth0 alternative designed for modern apps and SaaS products. It offers both Cloud and Open-source services to help you quickly launch your identity and management (IAM) system. Enjoy authentication, authorization, and multi-tenant management all in one.
We recommend starting with a free development tenant on Logto Cloud. This allows you to explore all the features easily.
In this article, we will go through the steps to quickly build the GitHub (GitHub App) sign-in experience (user authentication) with .NET Core (Blazor WebAssembly) and Logto.
Prerequisites
- A running Logto instance. Check out the introduction page to get started.
- Basic knowledge of .NET Core (Blazor WebAssembly).
- A usable GitHub (GitHub App) account.
Create an application in Logto
Logto is based on OpenID Connect (OIDC) authentication and OAuth 2.0 authorization. It supports federated identity management across multiple applications, commonly called Single Sign-On (SSO).
To create your Single page app application, simply follow these steps:
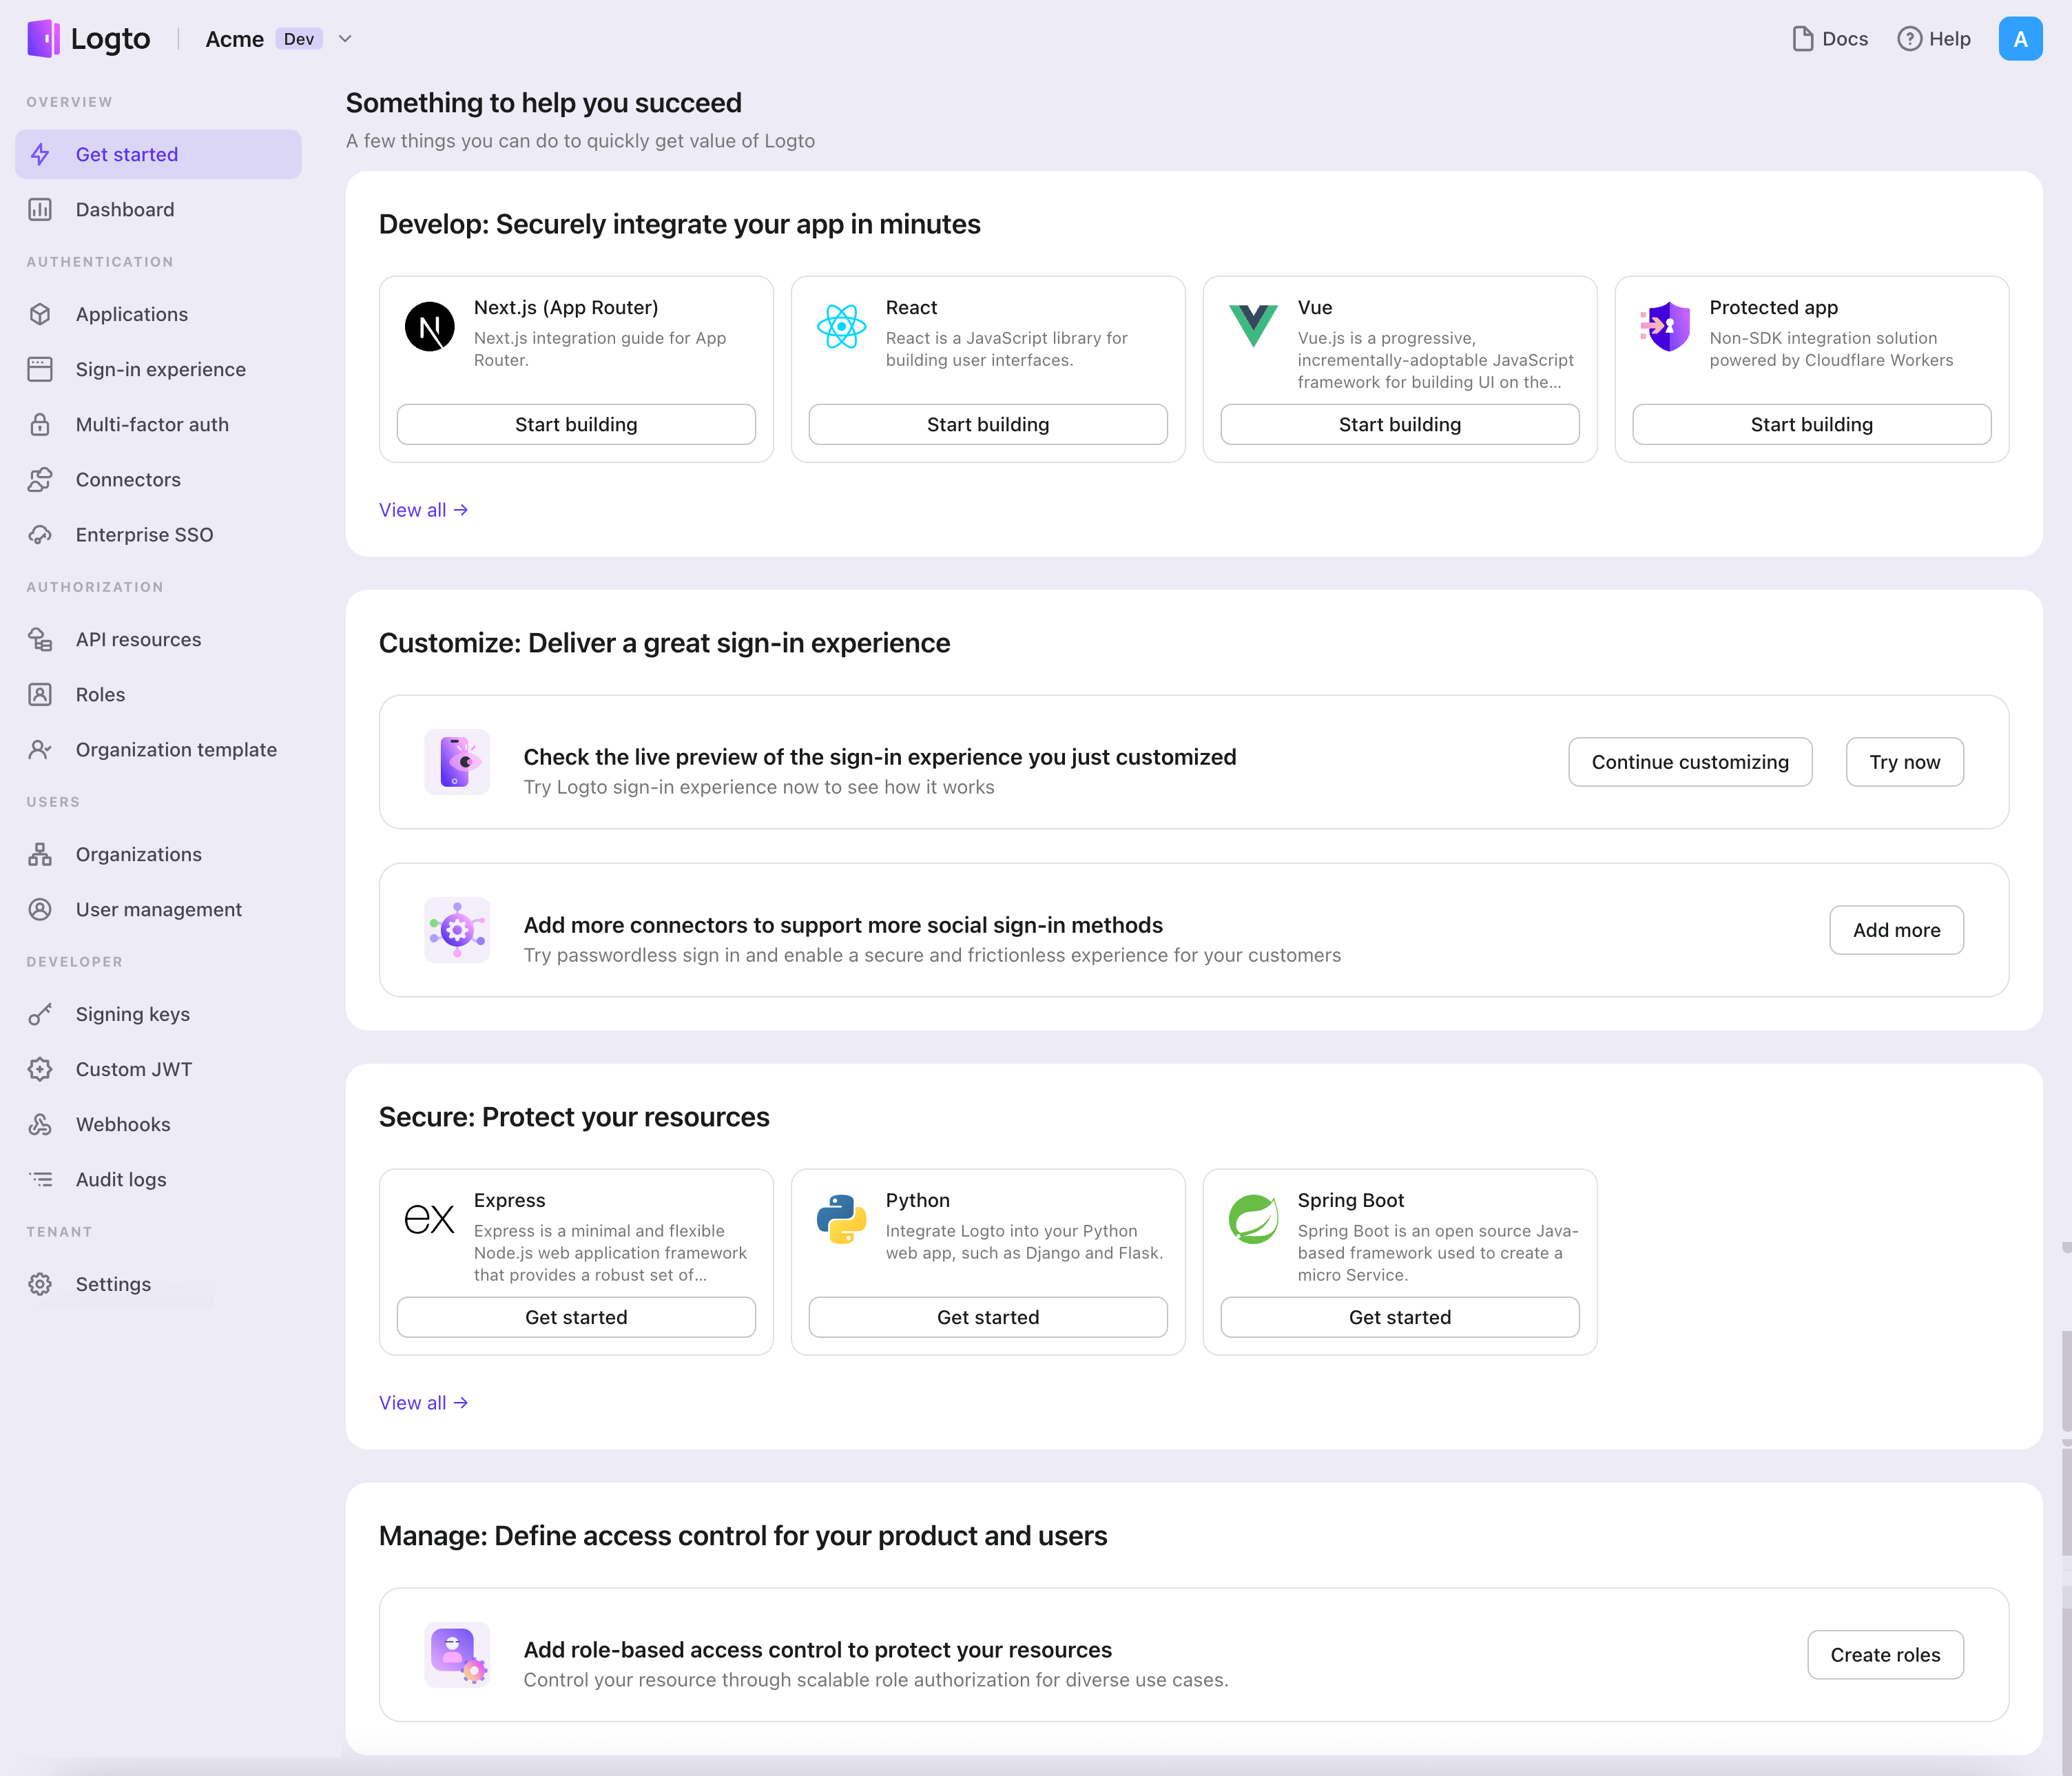
- Open the Logto Console. In the "Get started" section, click the "View all" link to open the application frameworks list. Alternatively, you can navigate to Logto Console > Applications, and click the "Create application" button.
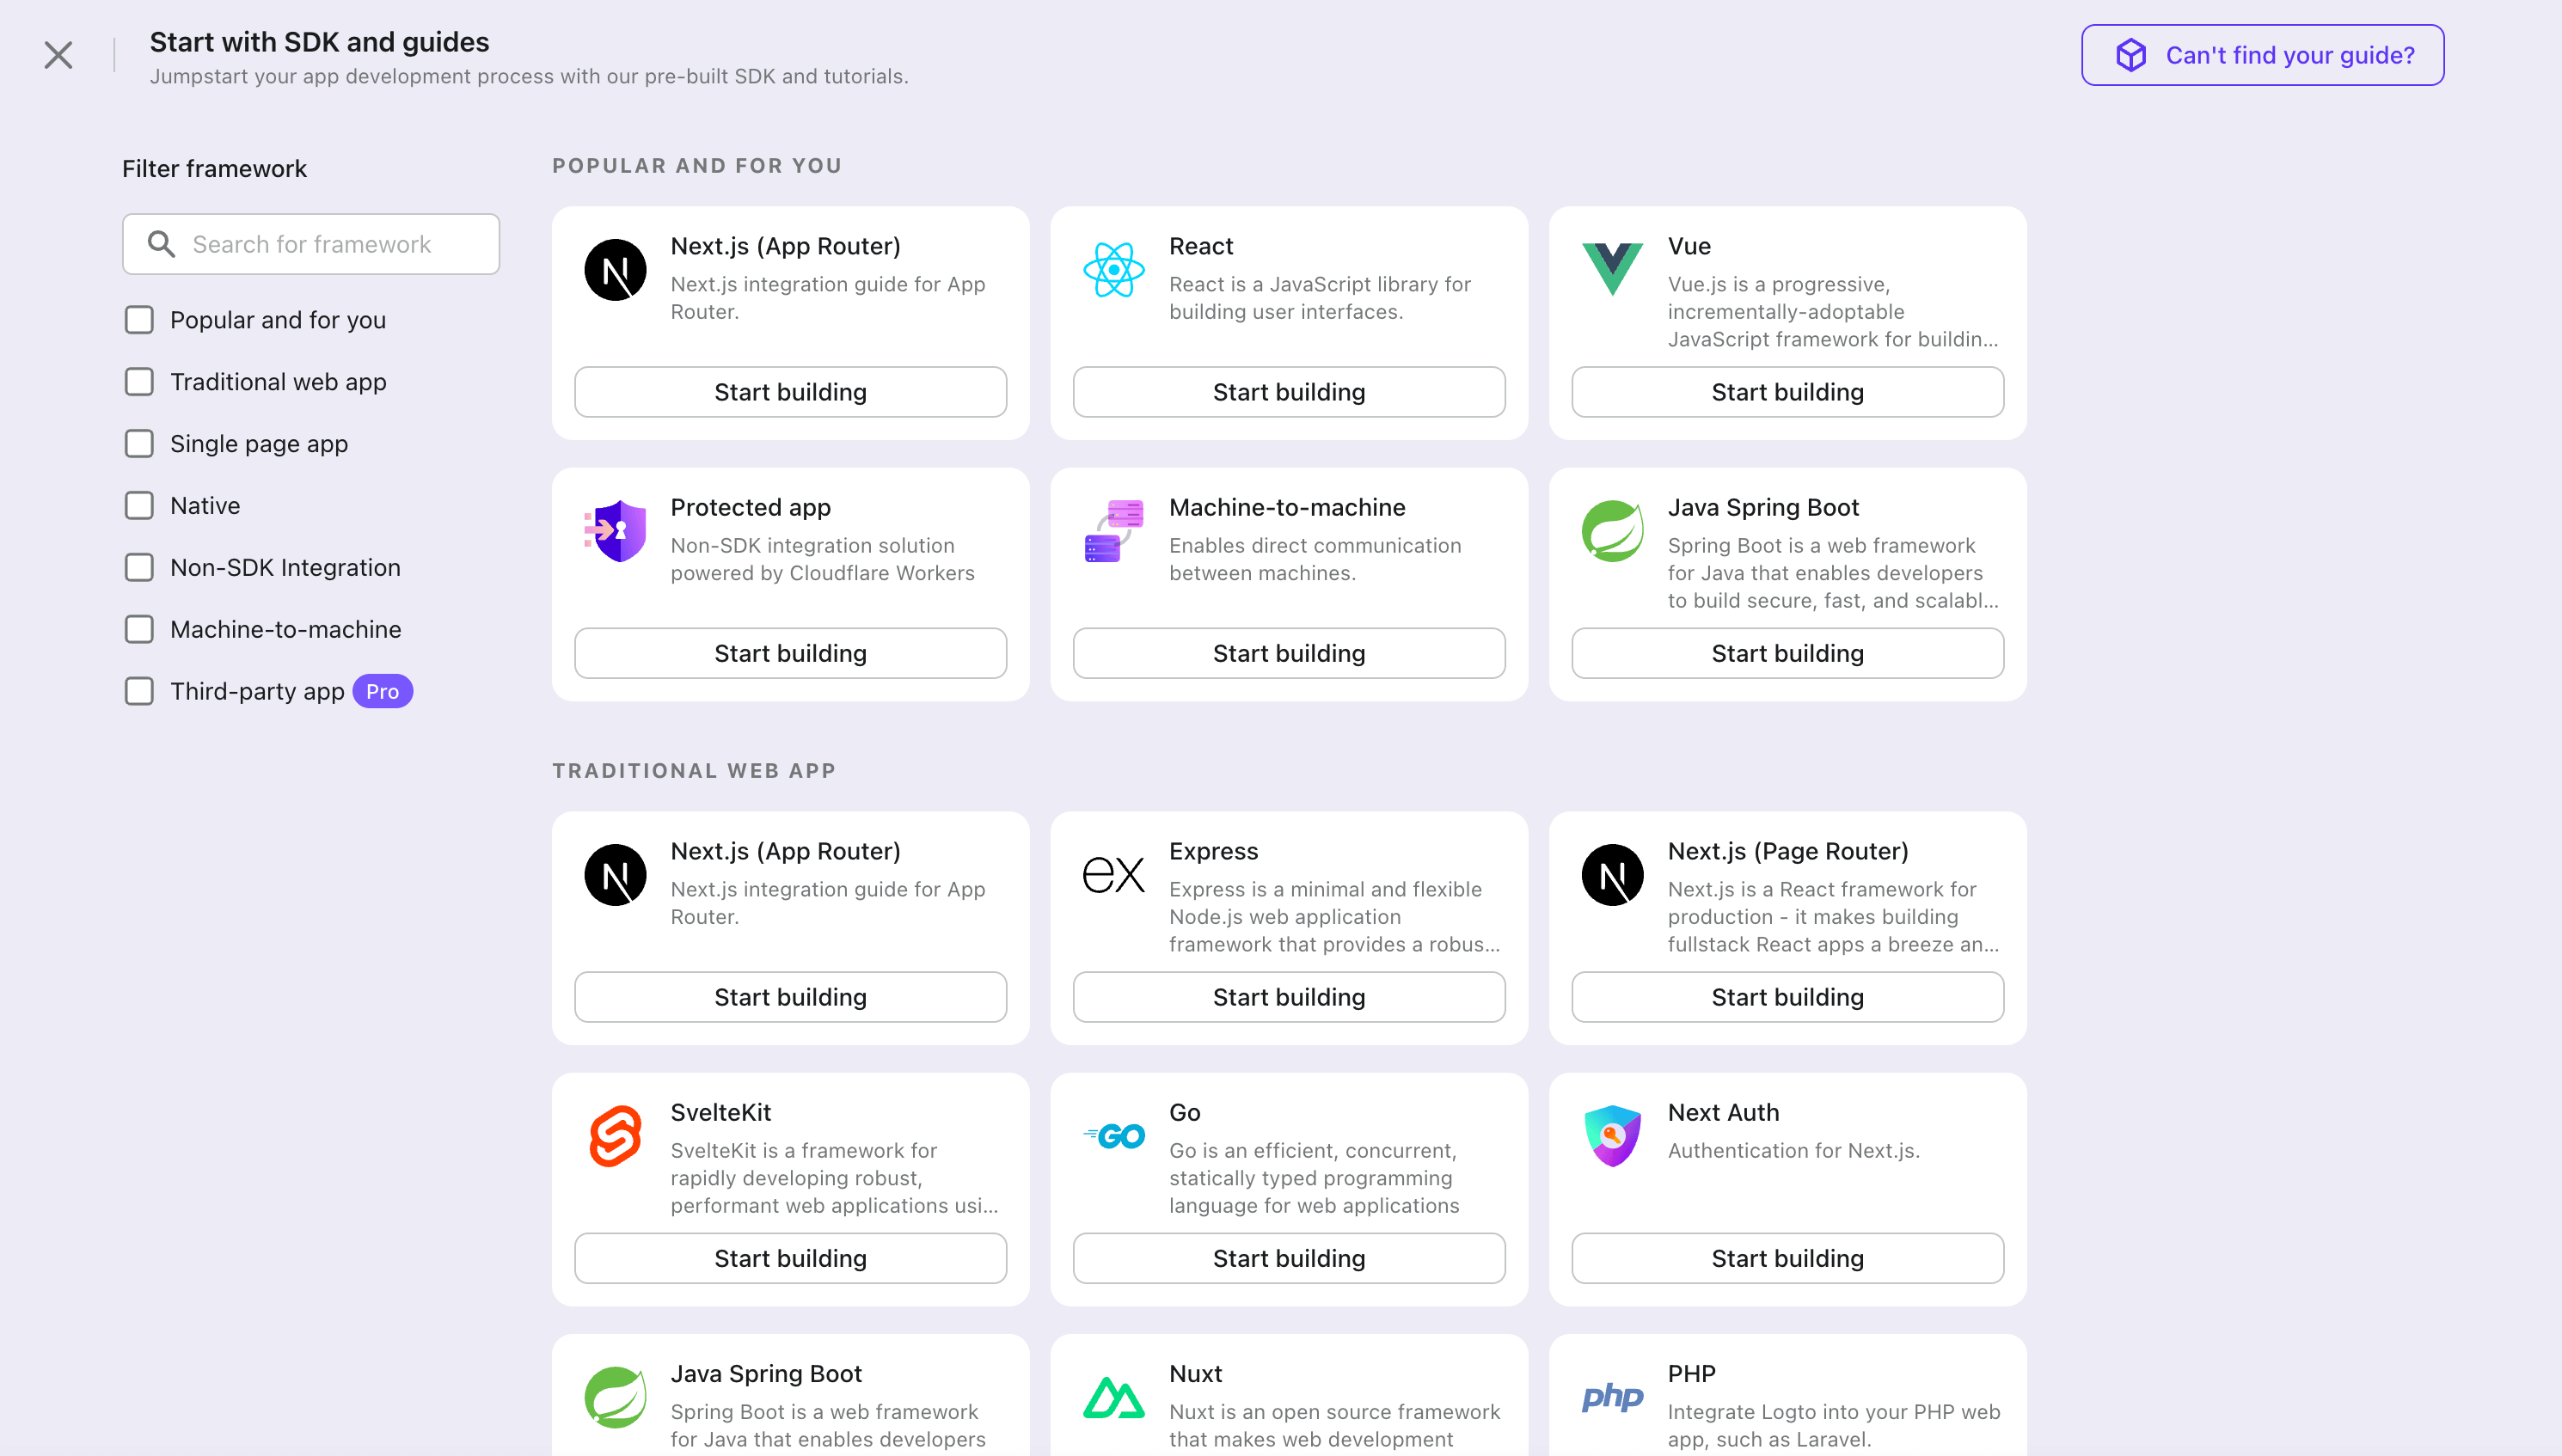
- In the opening modal, click the "Single page app" section or filter all the available "Single page app" frameworks using the quick filter checkboxes on the left. Click the ".NET Core (Blazor WebAssembly)" framework card to start creating your application.
- Enter the application name, e.g., "Bookstore," and click "Create application".
🎉 Ta-da! You just created your first application in Logto. You'll see a congrats page which includes a detailed integration guide. Follow the guide to see what the experience will be in your application.
Integrate .NET Core (Blazor WebAssembly) with Logto
- The following demonstration is built on .NET Core 8.0 and Blorc.OpenIdConnect.
- The .NET Core sample projects are available in the GitHub repository.
Installation
Add the NuGet package to your project:
dotnet add package Blorc.OpenIdConnect
Add script references
Include Blorc.Core/injector.js the index.html file:
<head>
  <!-- ... -->
  <script src="_content/Blorc.Core/injector.js"></script>
  <!-- ... -->
</head>
Register services
Add the following code to the Program.cs file:
using Blorc.OpenIdConnect;
using Blorc.Services;

builder.Services.AddBlorcCore();
builder.Services.AddAuthorizationCore();
builder.Services.AddBlorcOpenIdConnect(
    options =>
    {
        builder.Configuration.Bind("IdentityServer", options);
    });

var webAssemblyHost = builder.Build();

await webAssemblyHost
    .ConfigureDocumentAsync(async documentService =>
    {
        await documentService.InjectBlorcCoreJsAsync();
        await documentService.InjectOpenIdConnectAsync();
    });

await webAssemblyHost.RunAsync();
There's no need to use the Microsoft.AspNetCore.Components.WebAssembly.Authentication package. The Blorc.OpenIdConnect package will take care of the authentication process.
Configure redirect URIs
Before we dive into the details, here's a quick overview of the end-user experience. The sign-in process can be simplified as follows:
- Your app invokes the sign-in method.
- The user is redirected to the Logto sign-in page. For native apps, the system browser is opened.
- The user signs in and is redirected back to your app (configured as the redirect URI).
Regarding redirect-based sign-in
- This authentication process follows the OpenID Connect (OIDC) protocol, and Logto enforces strict security measures to protect user sign-in.
- If you have multiple apps, you can use the same identity provider (Logto). Once the user signs in to one app, Logto will automatically complete the sign-in process when the user accesses another app.
To learn more about the rationale and benefits of redirect-based sign-in, see Logto sign-in experience explained.
In the following code snippets, we assume your app is running on http://localhost:3000/.
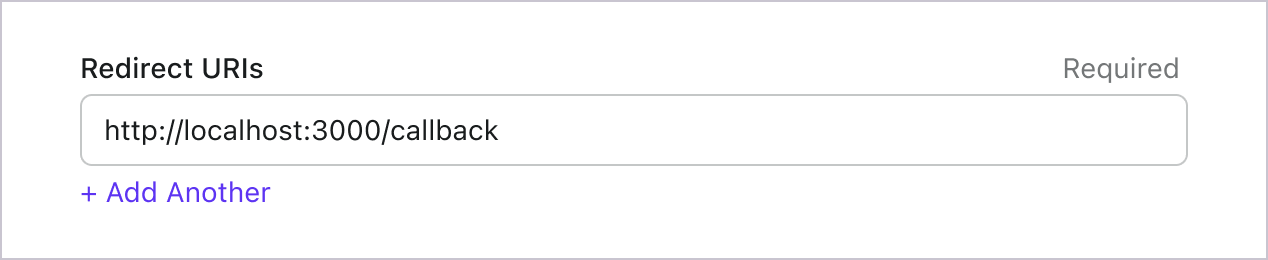
Configure redirect URIs
Switch to the application details page of Logto Console. Add a redirect URI http://localhost:3000/callback.
Just like signing in, users should be redirected to Logto for signing out of the shared session. Once finished, it would be great to redirect the user back to your website. For example, add http://localhost:3000/ as the post sign-out redirect URI section.
Then click "Save" to save the changes.
Configure application
Add the following code to the appsettings.json file:
{
// ...
IdentityServer: {
  Authority: 'https://<your-logto-endpoint>/oidc',
  ClientId: '<your-logto-app-id>',
  PostLogoutRedirectUri: 'http://localhost:3000/',
  RedirectUri: 'http://localhost:3000/callback',
  ResponseType: 'code',
  Scope: 'openid profile', // Add more scopes if needed
},
}
Remember to add the RedirectUri and PostLogoutRedirectUri to the list of allowed redirect URIs in the Logto application settings. They are both the URL of your WASM application.
Add AuthorizeView component
In the Razor pages that require authentication, add the AuthorizeView component. Let's assume it's the Home.razor page:
@using Microsoft.AspNetCore.Components.Authorization
@page "/"

<AuthorizeView>
    <Authorized>
        @* Signed in view *@
        <button @onclick="OnLogoutButtonClickAsync">
            Sign out
        </button>
    </Authorized>
    <NotAuthorized>
        @* Unauthenticated view *@
        <button @onclick="OnLoginButtonClickAsync">
            Sign in
        </button>
    </NotAuthorized>
</AuthorizeView>
Set up authentication
In the Home.razor.cs file (create it if it doesn't exist), add the following code:
using Microsoft.AspNetCore.Authorization;
using Microsoft.AspNetCore.Components;
using Microsoft.AspNetCore.Components.Web;
using Blorc.OpenIdConnect;
using Microsoft.AspNetCore.Components.Authorization;

[Authorize]
public partial class Home : ComponentBase
{
    [Inject]
    public required IUserManager UserManager { get; set; }

    public User<Profile>? User { get; set; }

    [CascadingParameter]
    protected Task<AuthenticationState>? AuthenticationStateTask { get; set; }

    protected override async Task OnInitializedAsync()
    {
        User = await UserManager.GetUserAsync<User<Profile>>(AuthenticationStateTask!);
    }

    private async Task OnLoginButtonClickAsync(MouseEventArgs obj)
    {
        await UserManager.SignInRedirectAsync();
    }

    private async Task OnLogoutButtonClickAsync(MouseEventArgs obj)
    {
        await UserManager.SignOutRedirectAsync();
    }
}
Once the user is authenticated, the User property will be populated with the user information.
Checkpoint: Test your application
Now, you can test your application:
- Run your application, you will see the sign-in button.
- Click the sign-in button, the SDK will init the sign-in process and redirect you to the Logto sign-in page.
- After you signed in, you will be redirected back to your application and see the sign-out button.
- Click the sign-out button to clear token storage and sign out.
Add GitHub (GitHub App) connector
To enable quick sign-in and improve user conversion, connect with .NET Core (Blazor WebAssembly) as an identity provider. The Logto social connector helps you establish this connection in minutes by allowing several parameter inputs.
To add a social connector, simply follow these steps:
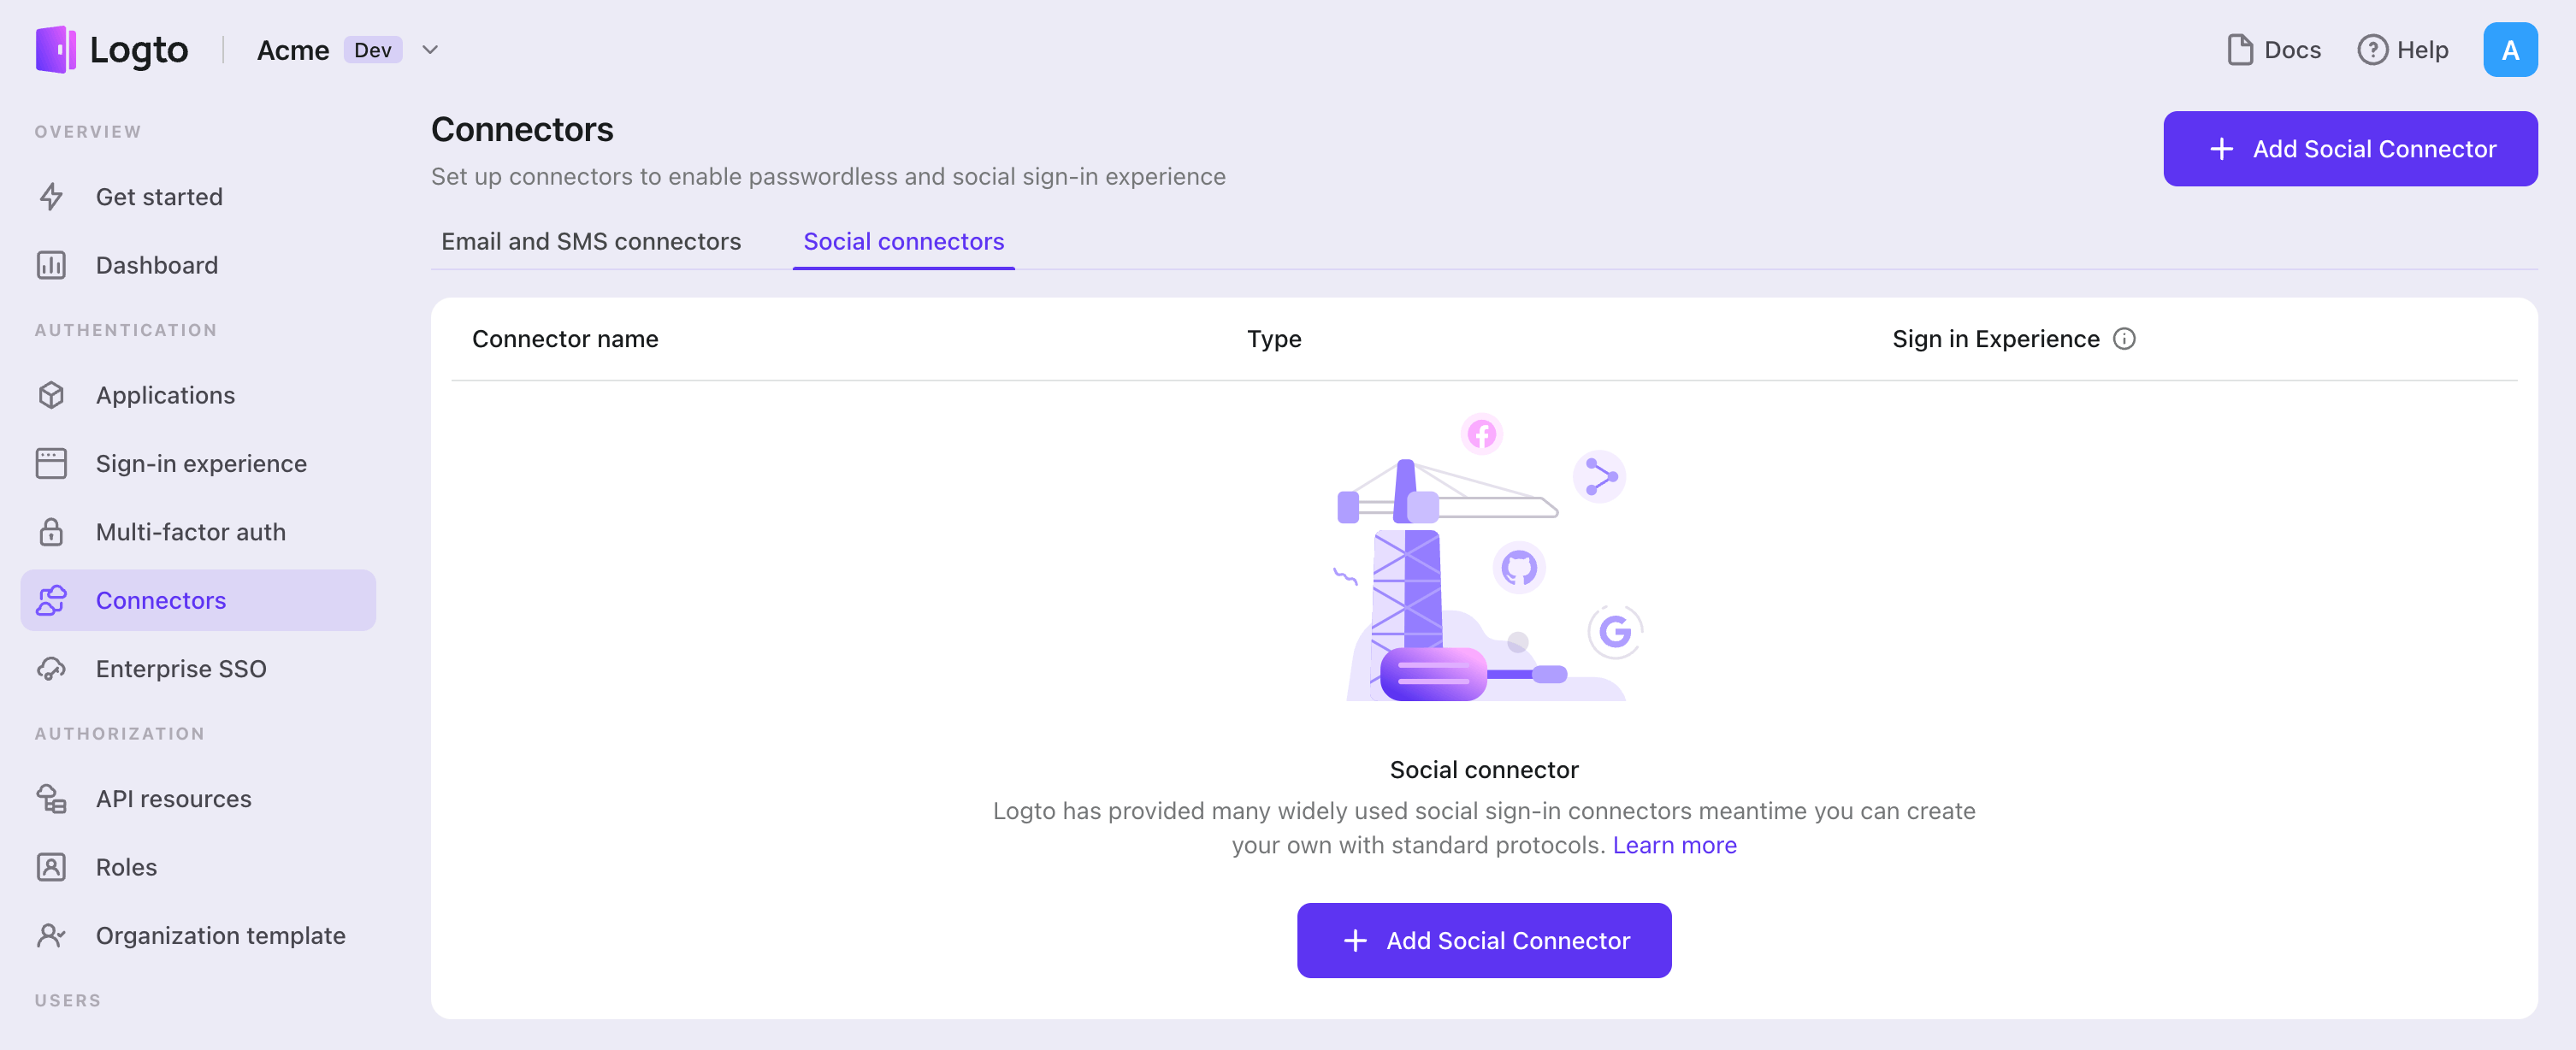
- Navigate to Console > Connectors > Social Connectors.
- Click "Add social connector" and select "GitHub (GitHub App)".
- Follow the README guide and complete required fields and customize settings.
If you are following the in-place Connector guide, you can skip the next section.
Set up GitHub (GitHub App)
Step 1: Create a GitHub App
Before you can use GitHub as an authentication provider, you must create a GitHub App on GitHub to obtain OAuth 2.0 credentials.
- Go to GitHub and sign in with your account, or create a new account if needed.
- Navigate to Settings > Developer settings > GitHub Apps.
- Click New GitHub App to register a new application:
- GitHub App name: Enter a unique name for your app. The name cannot be longer than 34 characters and must be unique across GitHub.
- Homepage URL: Enter your application's homepage URL.
- Callback URL: Copy the Callback URI from your Logto GitHub connector and paste it here. You can add multiple callback URLs if needed. After users sign in with GitHub, they'll be redirected here with an authorization code that Logto uses to complete authentication.
- Expire user authorization tokens: Keep this checked (recommended). This enables token expiration and refresh tokens for enhanced security.
- Request user authorization (OAuth) during installation: Optionally check this to prompt users to authorize your app during installation.
- Webhook: Uncheck Active if you don't need webhook events. For authentication-only use cases, webhooks are typically not required.
- Under Permissions, configure the permissions your app needs (see Step 2 below for details).
- Under Where can this GitHub App be installed?, select Any account if you want users from any GitHub account to use your app for authentication.
- Click Create GitHub App to create the GitHub App.
Unlike OAuth Apps, GitHub Apps use fine-grained permissions instead of broad scopes. You configure permissions in the GitHub dashboard during app creation, and users grant access to specific repositories during authorization.
For more details on setting up GitHub Apps, see Registering a GitHub App.
Step 2: Configure permissions in GitHub
GitHub Apps use fine-grained permissions instead of OAuth scopes. You must configure permissions in the GitHub dashboard when creating or editing your GitHub App. These permissions determine what data your app can access.
Understanding GitHub App permissions
Permissions are categorized into three types:
- Repository permissions: Access to repository-level resources (code, issues, pull requests, etc.)
- Organization permissions: Access to organization-level resources (members, teams, projects, etc.)
- Account permissions: Access to user account data (email, profile, followers, etc.)
For each permission, you can select:
- No access: The app cannot access this resource
- Read-only: The app can read but not modify this resource
- Read & write: The app can read and modify this resource
Recommended permissions for authentication
For basic "Sign in with GitHub" functionality, configure these minimum Account permissions:
| Permission | Access level | Purpose |
|---|---|---|
| Email addresses | Read-only | Get user's email address for account creation |
GitHub Apps have implicit access to read public profile information when acting on behalf of a user. You don't need to explicitly request permission for basic profile data like username, avatar, and public profile URL.
Additional permissions for API access
If your application needs to access GitHub APIs beyond authentication, add the corresponding permissions in the GitHub dashboard. Here are some common examples:
| Permission type | Permission | Access level | Use case |
|---|---|---|---|
| Repository | Contents | Read-only / Read & write | Access repository files and code |
| Repository | Issues | Read & write | Create and manage issues |
| Repository | Pull requests | Read & write | Create and manage pull requests |
| Repository | Metadata | Read-only | Access repository metadata (required for many operations) |
| Organization | Members | Read-only | List organization members |
| Account | Followers | Read-only | Access user's followers and following |
This is not an exhaustive list — GitHub Apps support many more fine-grained permissions. See Permissions required for GitHub Apps for the complete list.
Unlike OAuth Apps where you configure scopes in the Logto connector, GitHub App permissions are managed entirely in the GitHub dashboard. You can leave the Scope field empty in your Logto GitHub connector — it's not needed because GitHub Apps don't use traditional OAuth scopes.
Simply configure the permissions you need in GitHub, and users will be prompted to grant access during authorization.
Step 3: Configure your Logto connector
After creating the GitHub App, you'll be redirected to its settings page where you can obtain the credentials.
- On your GitHub App's settings page, copy the Client ID and paste it into the
clientIdfield in Logto. - Under Client secrets, click Generate a new client secret. Copy the generated secret and paste it into the
clientSecretfield in Logto. - Click Save and Done in Logto to connect your identity system with GitHub.
Keep your Client secret secure and never expose it in client-side code. GitHub client secrets cannot be recovered if lost - you'll need to generate a new one.
The Client ID for a GitHub App is different from the App ID. Make sure to use the Client ID (shown as "Client ID" on the settings page), not the App ID.
Step 4: General settings
Here are some general settings that won't block the connection to GitHub but may affect the end-user authentication experience.
Sync profile information
In the GitHub connector, you can configure how profile information is synced from GitHub user info to the Logto user profile, including name, avatar, and email. Choose from the following options:
- Only sync at sign-up: Profile info is fetched once when the user first signs in.
- Always sync at sign-in: Profile info is updated every time the user signs in.
Store tokens to access GitHub APIs (Optional)
If you want to access GitHub APIs and perform actions with user authorization (whether via social sign-in or account linking), enable token storage in Logto:
- Configure the required permissions in your GitHub App settings (Step 2).
- Enable Store tokens for persistent API access in the Logto GitHub connector. Logto will securely store both the access token and refresh token in the Secret Vault.
Since GitHub Apps always issue refresh tokens, Logto stores both tokens automatically. The access token expires after 8 hours, but Logto can use the refresh token to obtain new access tokens, ensuring uninterrupted API access for up to 6 months.
Step 5: Test your integration (Optional)
Before going live, test your GitHub App integration:
- Use the connector in a Logto development tenant.
- Verify that users can sign in with GitHub.
- Check that users are prompted for the correct permissions during authorization.
- If you enabled token storage, verify that access tokens (and refresh tokens) are stored correctly.
- Test API calls using the stored tokens to ensure permissions are working as expected.
GitHub Apps work with any GitHub user account immediately - there's no need for test users or app approval like some other platforms. However, if your app is installed on an organization, organization owners may need to approve the installation.
Save your configuration
Double check you have filled out necessary values in the Logto connector configuration area. Click "Save and Done" (or "Save changes") and the GitHub (GitHub App) connector should be available now.
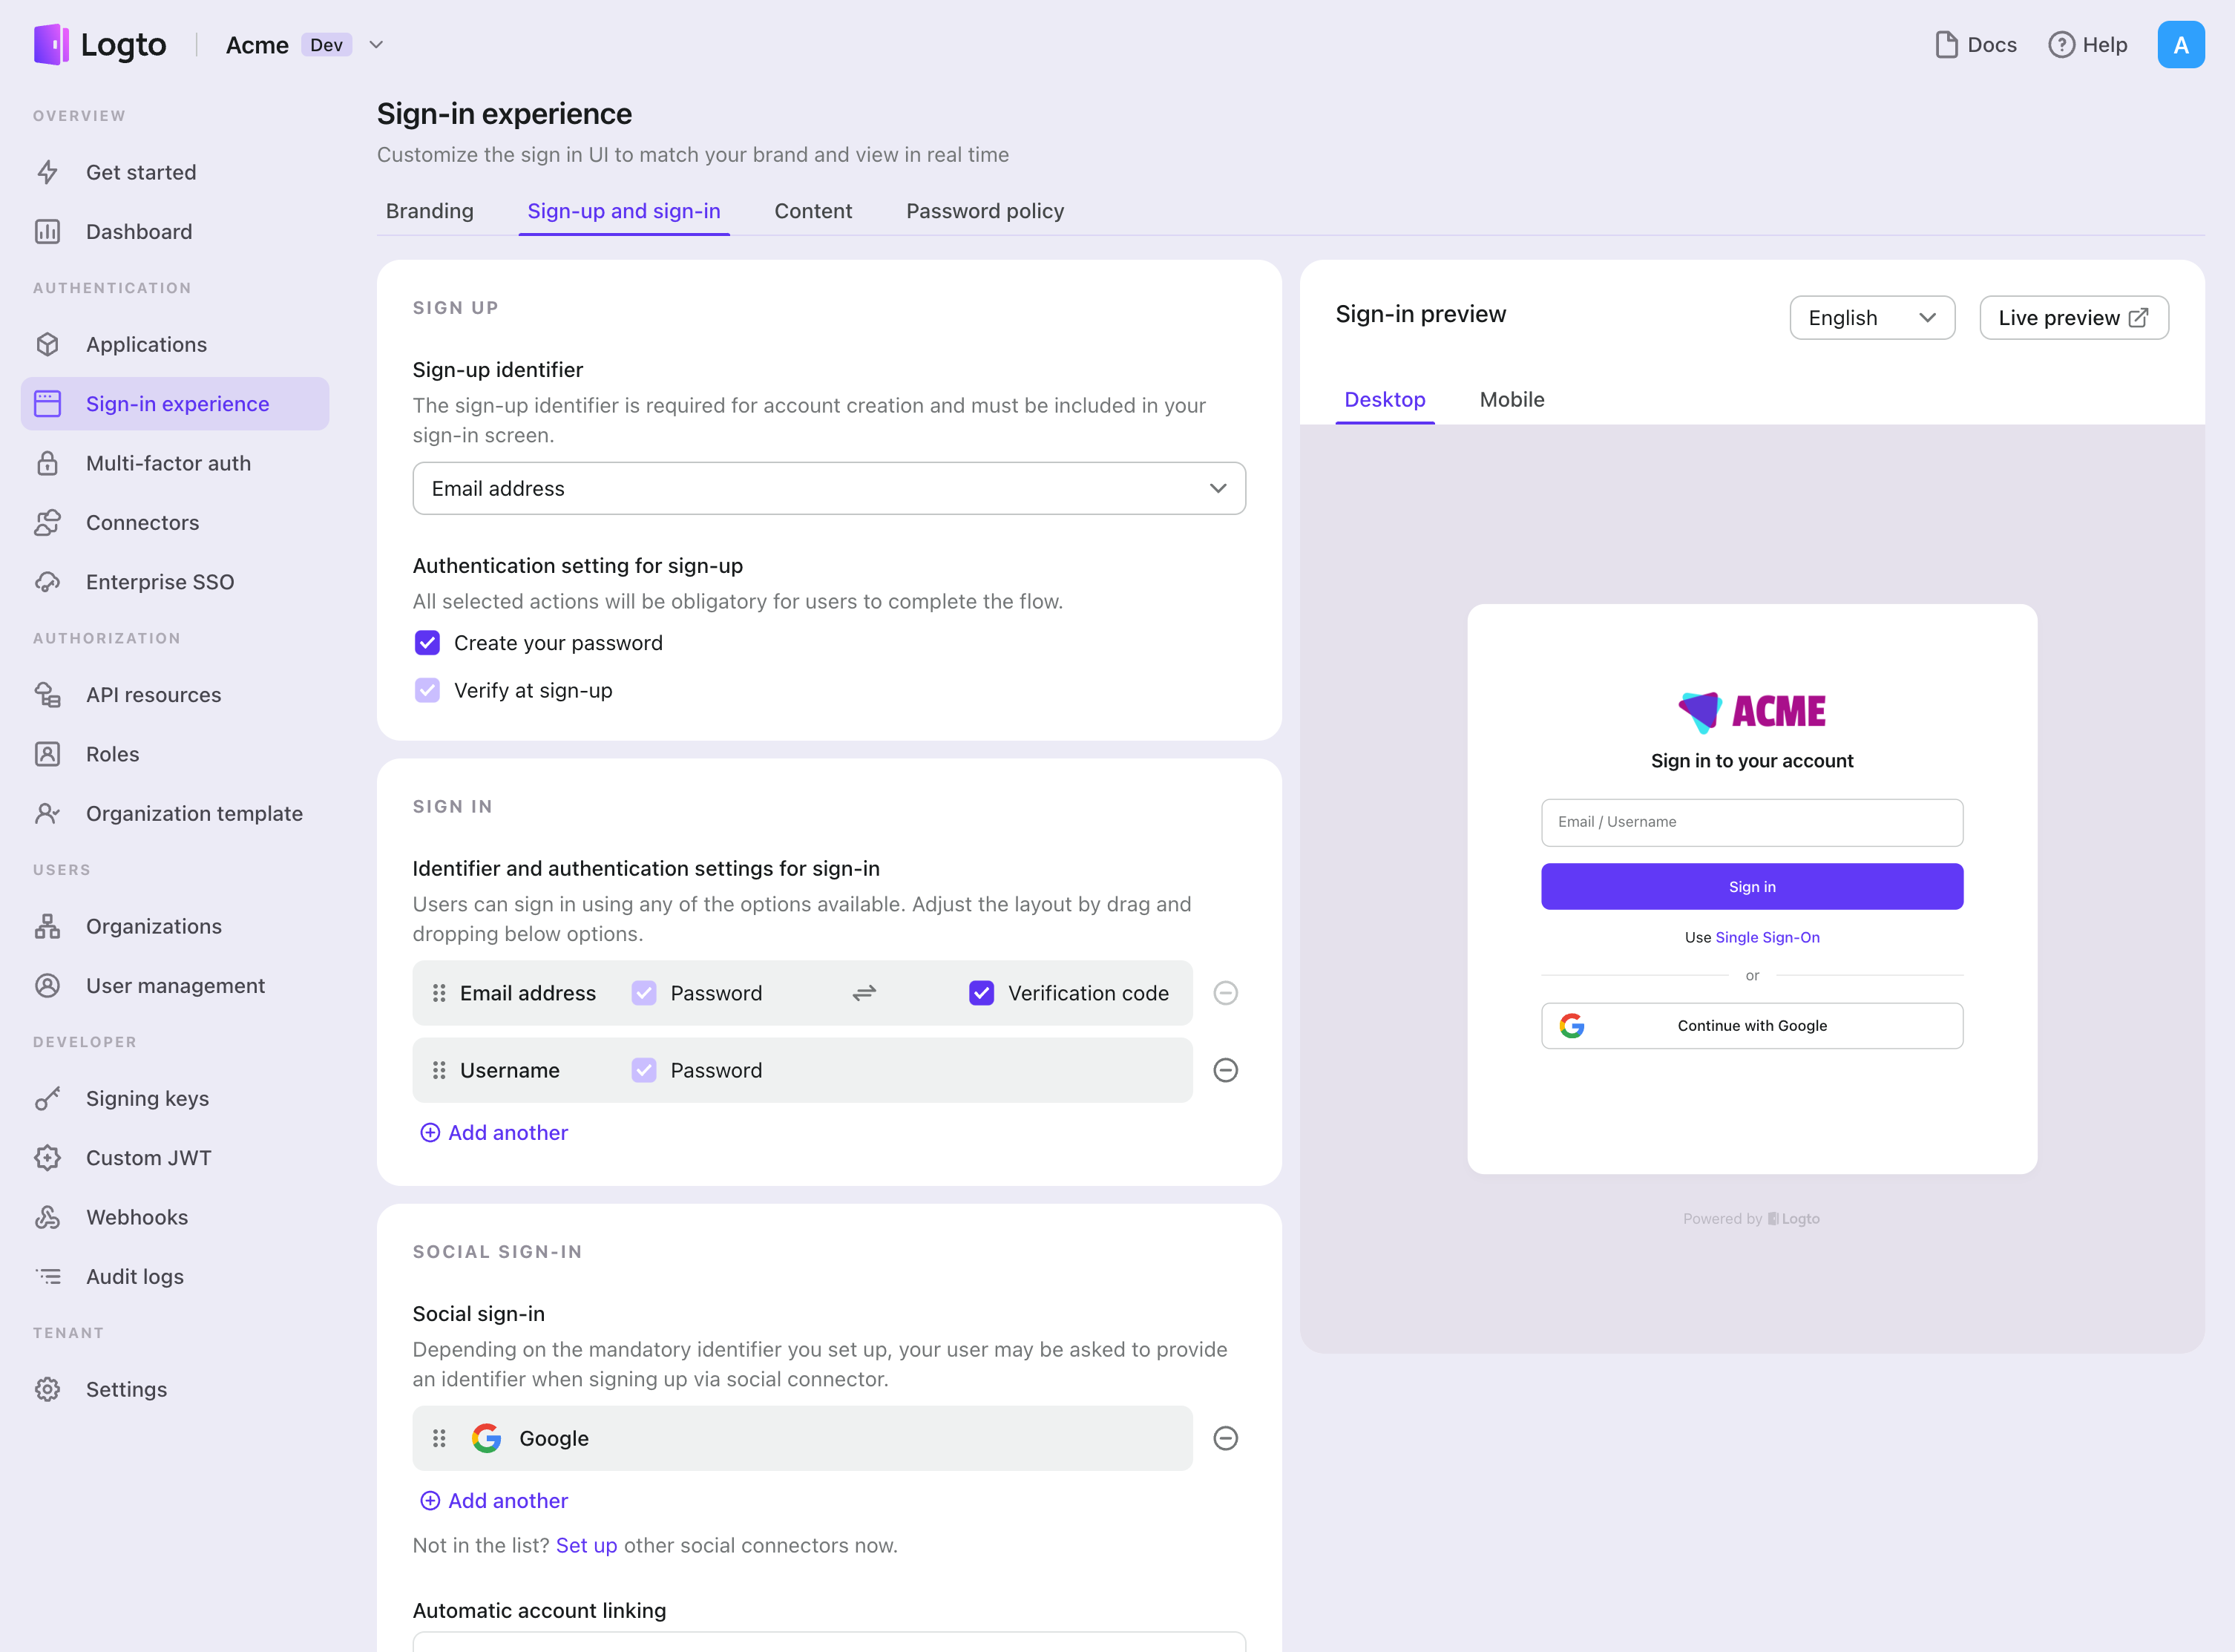
Enable GitHub (GitHub App) connector in Sign-in Experience
Once you create a social connector successfully, you can enable it as a "Continue with GitHub (GitHub App)" button in Sign-in Experience.
- Navigate to Console > Sign-in experience > Sign-up and sign-in.
- (Optional) Choose "Not applicable" for sign-up identifier if you need social login only.
- Add configured GitHub (GitHub App) connector to the "Social sign-in" section.
Testing and Validation
Return to your .NET Core (Blazor WebAssembly) app. You should now be able to sign in with GitHub (GitHub App). Enjoy!
Further readings
End-user flows: Logto provides a out-of-the-box authentication flows including MFA and enterprise SSO, along with powerful APIs for flexible implementation of account settings, security verification, and multi-tenant experience.
Authorization: Authorization defines the actions a user can do or resources they can access after being authenticated. Explore how to protect your API for native and single-page applications and implement Role-based Access Control (RBAC).
Organizations: Particularly effective in multi-tenant SaaS and B2B apps, the organization feature enable tenant creation, member management, organization-level RBAC, and just-in-time-provisioning.
Customer IAM series Our serial blog posts about Customer (or Consumer) Identity and Access Management, from 101 to advanced topics and beyond.